DIY- Graphic Pumpkin Vase & Leaf Garland
Camille & I were trying to think of a Halloween decor that we would actually love. (Forget those cheap orange plastic pumpkins!) We came up with this graphic pumpkin vase and garland idea that adds a little touch of green that fits in our boho decor.

It was super easy to put together! Here’s what you need if you want to try it for your Halloween party:
-A few inexpensive leaf branches that you can find at your local florist (or even in your garden). We chose Myrtle leaves and ferns.
-Acrylic paint: white, black and gold
-Paintbrushes
-Black & white twine for the garland
-Hot glue
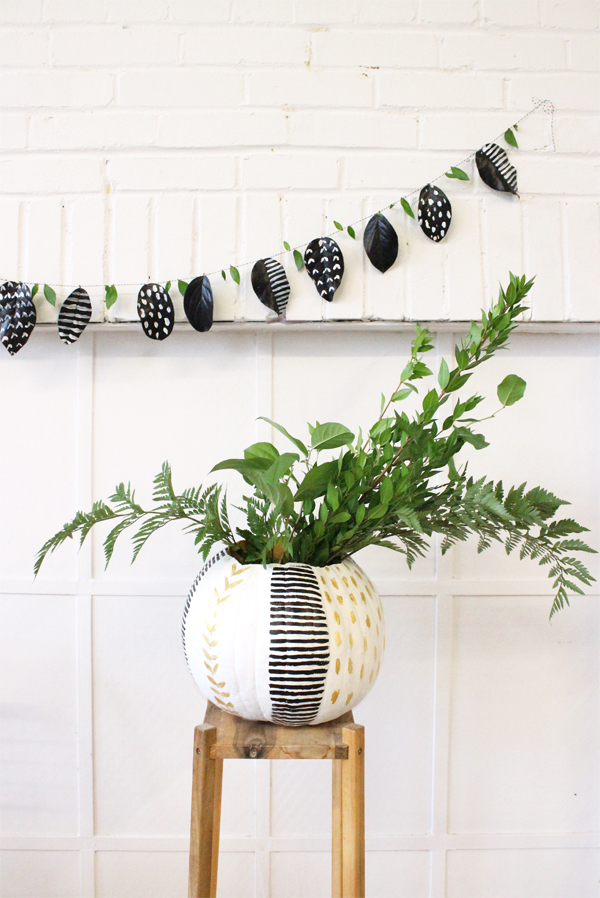
The first step is to carve your bigger pumpkin and remove the seeds. Then you can paint it. You may need to apply more than 1 coat of paint to get the desired opacity. When the paint is really dry, you can go ahead and add some graphic patterns with a small paintbrush. Stripes, dots and chevron will work nicely. Then you can use any plastic recipient and add water in it to use as an original vase for your leaf bouquet. White flowers would also look beautiful in this graphic pumpkin!
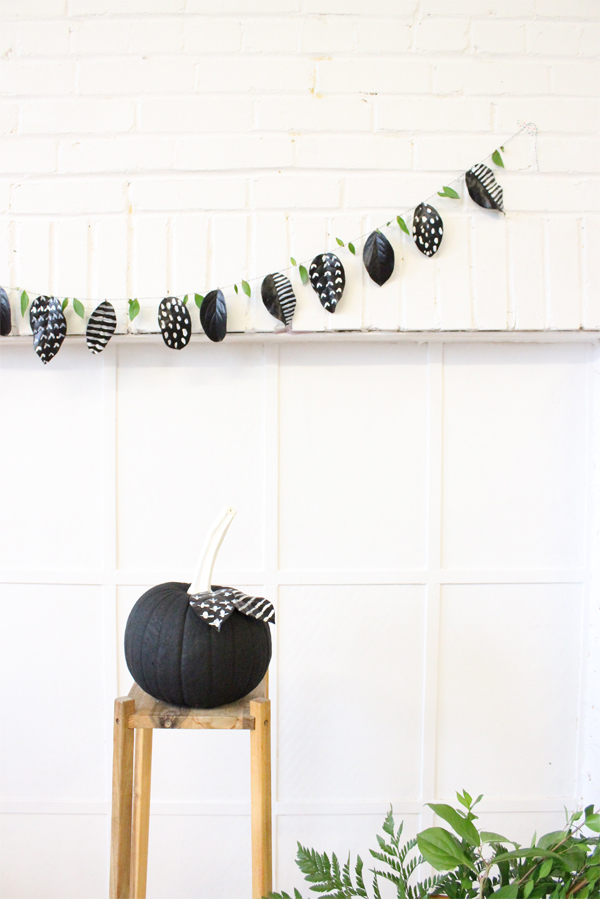
The little black & white pumpkin is a no brainer. Just paint it and then using your hot glue gun, add a few graphic leaves to it for a fun Scandinavian pumpkin!
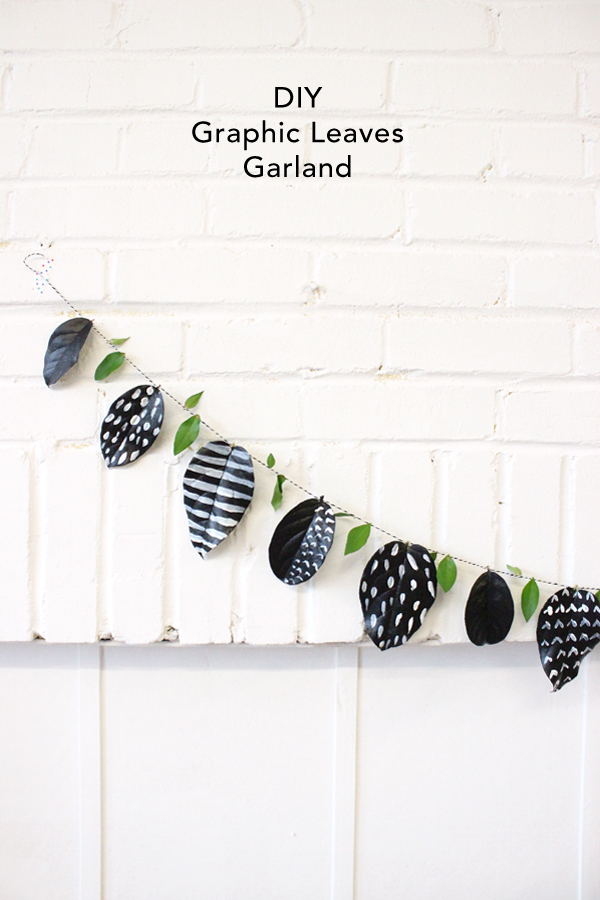
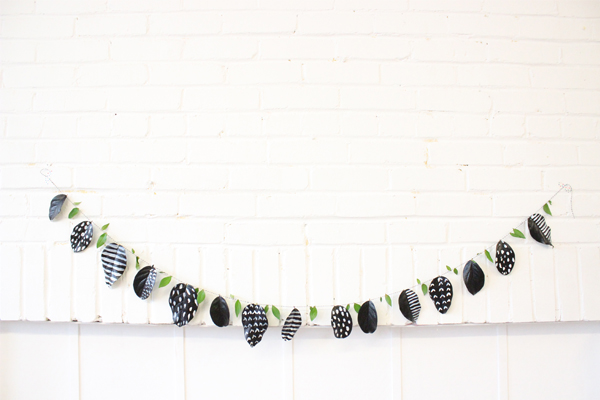
The leaf garland is so fun and easy to put together! It would be a super fun craft to make with the kids. Just find some leaves that you like, (you might even find some on the ground at the park!) and paint the leaves with black acrylic. Let them dry and then add your little graphic patterns using white or gold paint. Glue the leaves to the black & white twine using your hot glue gun. We added some little unpainted myrtle leaves in between the black graphic leaves which add a little touch of green!
Try it! We’d like to see your creations! Tag @babasouk via instagram to show us your take on this Halloween DIY project. We’ll regram our favorites!
Have fun! –Stephanie